

 24/7 Emergency Service
SERVPRO of Metairie outlines the steps to repair water damage to Walls and Ceilings.
7/6/2022 (Permalink)
Blog Summary: Water damage professional highlights how to restore water-damaged walls.
Water has the potential to be harmful. When it comes into contact with the drywall component of your ceilings and interior walls, it can make them seem unpleasant and even damage the wallboard to the point where it collapses, causing significant difficulties for homeowners.
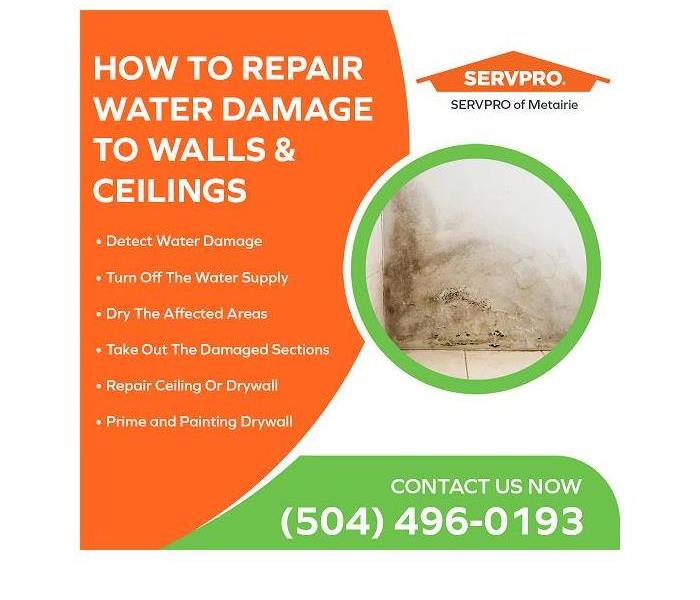
Thankfully, water damage to walls and ceilings can be repaired if you have the necessary know-how and tools. The team at SERVPRO of Metairie, the leading water damage repair company in Jefferson, has explained the steps to repairing water damage to walls and ceilings.
Steps to Repair Water Damage to Walls & Ceilings
Step 1. Detect Water Damage
Not everyone quickly notices spots in their ceiling and walls, so it might be challenging to spot the telltale signs of ceiling and wall water damage like discoloration and blistered or peeling paint.
Unfortunately, if obvious signs of damage appear, there is probably a lot more water elsewhere that caused it, which could lead to serious damage and deadly mold growth.
It’s essential to act immediately once you notice these signs to prevent further damage.
Step 2. Turn Off The Water Supply
You must first tackle the source of the water before making water damage repairs. This is required to prevent further water damage. The ceiling will only continue to deteriorate if the water supply is not turned off first. At this time, any fixes you make will be useless.
You may need to have the damaged wall or ceiling removed to locate the cause. Since water spreads so fast, the source of the leak could be far from the part of the wall or ceiling that’s damaged. So, once you've found it, make the appropriate repairs or replacements to get the water to stop flowing.
3. Dry The Affected Areas
After you've dealt with the water source, the water-damaged ceilings and walls can then be dried. To begin with, cover any furniture and the floor in the room with a tarp to keep water and debris out. Then gather items for ceiling drying, like towels and fans. Allow plenty of time to dry all areas and ensure all moisture is gone.
If there's still water dripping from the ceiling after it has been dried, then it's not dried and needs more drying. You may need to clip out that part of the ceiling to dry the still wet sections. If the ceiling is bulging, puncture that specific area to allow the water to escape. However, place a bucket under that area to catch any surplus water.
4. Take Out The Damaged Sections
Examine the drywall to determine the extent of the damage. Wallboards that have been heavily soaked will sag from the ceilings or collapse when touched. Remove all drywall that has been compromised by hand or with a wrecking bar. Cutting off the damaged area of drywall panels that simply exhibit water spots but aren't structurally vulnerable may be possible to fix.
Cut the hole into a rectangular or square form while cutting out around the damaged area. After that, you can repair it with another drywall piece.
Ensure you put down drop cloths or tarps before you begin to catch all the wall or ceiling pieces, dust, and debris.
5. Repair Ceiling Or Drywall
Take the measurement of the hole of the damaged areas where you'll be cutting off the ceiling or drywall.
Cut out new pieces of drywall that are at least two inches longer and wider than the opening to patch it. Start with the larger-than-necessary drywall piece and trim it with a utility knife. Next, apply a coat of epoxy and sand it smooth when the adhesive is fully dried.
Use sandpaper to smoothen any ridges, bumps, or rough spots. Fill small holes with epoxy, and wait for it to dry before sanding it smooth.
6. Prime and Painting Drywall
After completing the repairs, open up the windows to allow for proper circulation while priming and painting.
Wait for some time for it to dry before applying the primer. Once the ceiling has dried, repaint it. Even if not all parts of the ceiling were damaged, it's best to prime and paint it all to ensure even coloring.
Get Professional Wall or Ceiling Restoration Services In Jefferson
SERVPRO of Metairie is a well-known leader when it comes to ceiling and drywall restoration services. They have a team of highly trained professionals available 24/7 to meet your needs. They are committed to responding to any major disaster with the necessary skills, equipment, and experience to handle your water damage restoration or cleaning needs.
Call SERVPRO of Metairie at (504) 496-0193 to get a free quote.